HighRadius Configurations
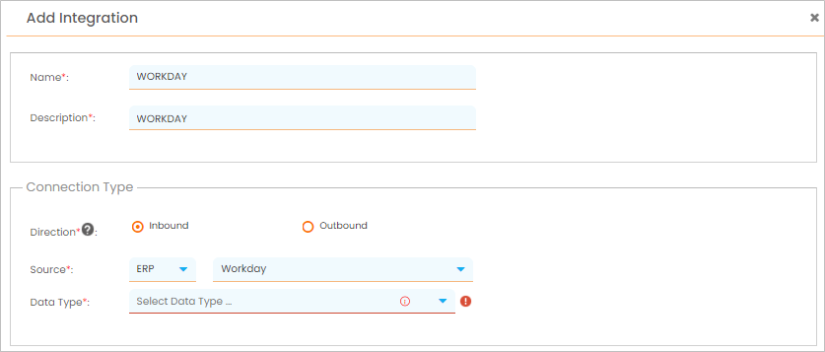
The Add Integration window allows you to provide the ERP Integration details for Workday.
To add the HighRadius configurations for Workday, follow these steps:
-
Provide Name and Description.

Information
In case of quick access, the Name and Description are auto populated. However, if you use the Add button in the Manage Integrations screen, these details must be manually filled.
-
Select if it must be an Inbound or Outbound integration, by clicking the corresponding radio button.
-
Select Workday from the Source drop-down list.
-
Select the required Data Type from the drop-down list depending on the selected Direction.
-
Provide Workday Authentication as the Auth Type.

-
To provide values in the fields displayed in the Authorization panel, refer to Authorization Details.
-
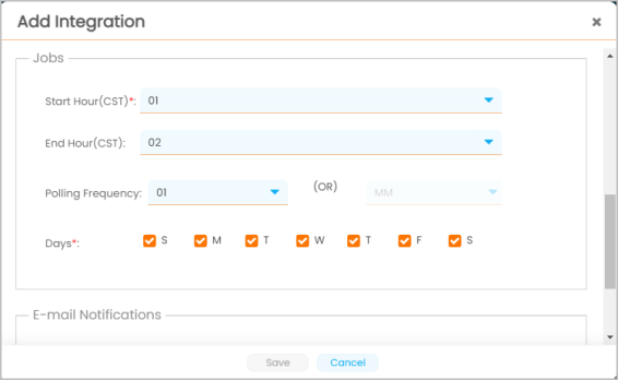
Configure the cron as required.
-
Provide email ID(s) to receive job status notifications.
-
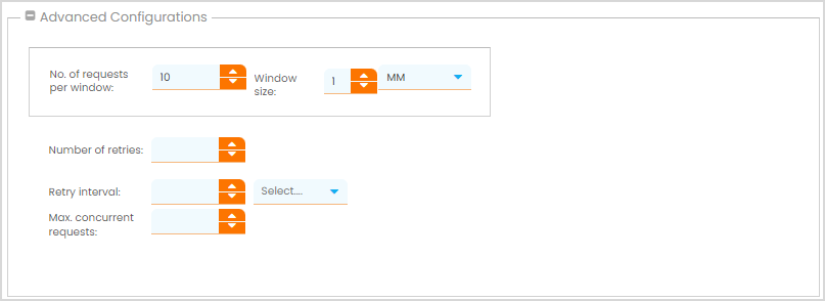
Configure the details in the Advanced Configurations and click Save.

Note
Modify the Advanced Configurations only if required.
For more details on the fields displayed in the Advanced Configurations panel, refer to the following table:
Field
Description
No. of request per window Displays the number of requests allowed per time frame, that is, the window size. Window size Displays the time frame of the requests. For example, only 10 requests are allowed per minute. Number of retries Displays the number of times the request is resubmitted if case failure. Retry interval Displays the interval between the retries. For example, 3 retries with 2000 seconds retry interval. Max concurrent request To be implemented. Once the integration is created, you can modify the integration settings. For more details, refer to Editing ERP Integration Settings.